Train DeepRacer model locally with GPU support
DeepRacer is fun. At the same time it could get really expensive. I just run less than a dozen of training and simulation to prepare the race at AWS Hong Kong Summit and I am getting a bill like this.

When I was lining up for a chance to put the model on a real car to run on the track during the Hong Kong Summit, I talked to several guys and they all spent more than I did. One guy even spent like $700 dollars in just a few weeks. DeepRacer is really a nice platform to learn reinforcement learning but I don’t think it is even remotely reasonable for anyone to spend $100 just to get how it works.
Note that the cost of RoboMaker is especially ridiculous, given that it is just running a simulated environment for the SageMaker to interact with it.
Luckily, Chris Rhodes has shared his project on Github to train the DeepRacer model on your local PC.
In this article, I will show you how to train a model locally and upload the model back to AWS DeepRacer Console and run an evaluation using the model you have uploaded. I will also share my experience of using the GPU to train the model faster.
Training the model
Before we start, I would recommend you to use Linux if possible. I first started to run this on a Mac and there are some issues that you need to fix. Someone also wrote another guide to run this on OSX but I haven’t tried so I cannot confirm whether that works or not. In this article, I will be using Ubuntu 18.04 LTS.
These are the steps that you need to do in order to train the model locally:
- Setup python and project environment
- Install Docker and configure nvidia as default runtime
- Rebuild the docker images
- Install minio as a local S3 provider
- Start Sagemaker
- Start Robomaker
Setup Python environment
Follow this article from Digital Ocean to get your conda environment up and running. The reason I like Conda is that you don’t have to remember where you store your virtual environment. By doing a simple conda env list you can list all environments you have ever created.
So let’s create a virtual environment
conda create --name sagemaker python=3.6
conda activate sagemaker
conda install -c conda-forge awscli
Clone the project from Github
git clone --recurse-submodules https://github.com/crr0004/deepracer.gitInstead SageMaker dependency (under project root)
cd deepracer
pip install -U sagemaker-python-sdk/ pandas
pip install urllib3==1.24.3 #Fix some dependency issue
pip install PyYAML==3.13 #Fix some dependency issue
pip install ipython
Install Docker and configure nvidia as default runtime
Install docker by following the instruction on the docker website.
Since we want to use GPU when we train the model, we need to ask docker to use the Nvidia docker as the default runtime. Refer to this guide to config Nvidia to finish the setup or simply run the following command
# Update the default configuration and restart
pushd $(mktemp -d)
(sudo cat /etc/docker/daemon.json 2>/dev/null || echo '{}') | \
    jq '. + {"default-runtime": "nvidia"}' | \
    tee tmp.json
sudo mv tmp.json /etc/docker/daemon.json
popd
sudo systemctl restart docker

# No need for nvidia-docker or --engine=nvidia
docker run --rm -it nvidia/cuda nvidia-smi
You should see something like this if you set it up correctly

Rebuild the docker images with GPU support
As of now there is no pre-built official images that support GPU, we are going to rebuild those docker images with GPU support. You can skip this step if you aren’t planning to use a GPU. If you just want to use my image, just pull this image:
docker pull sctse999/sagemaker-rl-tensorflowAlternatively, you can build the image by following the steps below:
Build sagemaker-tensorflow-scriptmode:
cd sagemaker-tensorflow-container/docker/1.12.0python3 setup.py sdistcp dist/sagemaker_tensorflow_container-2.0.0.tar.gz docker/1.12.0/cd docker/1.12.0wget https://storage.googleapis.com/tensorflow/linux/gpu/tensorflow_gpu-1.12.0-cp36-cp36m-linux_x86_64.whldocker build -t 520713654638.dkr.ecr.us-west-2.amazonaws.com/sagemaker-tensorflow-scriptmode:1.12.0-gpu-py3 --build-arg py_version=3 --build-arg framework_installable=tensorflow_gpu-1.12.0-cp36-cp36m-linux_x86_64.whl -f Dockerfile.gpu .
You should see something like this when you run docker images

Next, build the sagemaker-container
cd sagemaker-containerspython3 setup.py sdistcp dist/sagemaker_containers-2.4.4.post2.tar.gz ../sagemaker-rl-container/cd ../sagemaker-rl-containerdocker build -t 520713654638.dkr.ecr.us-east-1.amazonaws.com/sagemaker-rl-tensorflow:coach0.11-cpu-py3 --build-arg sagemaker_container=sagemaker_containers-2.4.4.post2.tar.gz --build-arg processor=gpu -f ./coach/docker/0.11.0/Dockerfile.tf .
You may ask why we are using the tag coach0.11-cpu-py3 instead of another name. It is because this is the default image tag that the RLEstimator will look for. If you want to use your own image name, it’s alright and I will show you how to use your own image name later below.
Install minio as a local S3 service
If you refer to the architecture of DeepRacer, S3 is used as a bridge for the communication between SageMaker and RoboMaker.
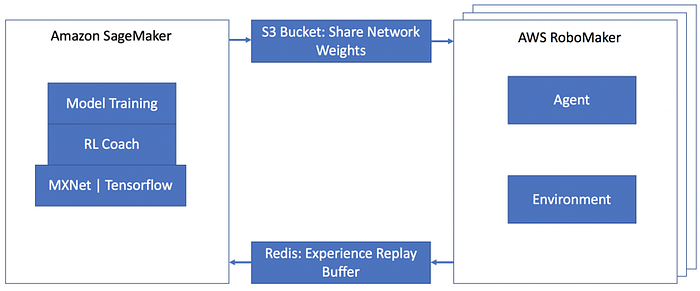
Therefore, we need to install minio, a local version of S3. While you can run minio as a docker container, I would recommend you to run it just a service of ubuntu. I have some bad experience when running it as a docker container.
Download the executable from the official
wget https://dl.min.io/server/minio/release/linux-amd64/minio
chmod +x minio
sudo mv minio /usr/local/bin
Put the config file in place
$ sudo vi /etc/default/minioPaste the following in the file. Remember to edit <<YOUR_PROJECT_PATH>> with a correct path
# Volume to be used for MinIO server.
MINIO_VOLUMES="<<YOUR_PROJECT_PATH>>/data"
# Access Key of the server.
MINIO_ACCESS_KEY=minio
# Secret key of the server.
MINIO_SECRET_KEY=miniokey
Setup the minio as a service
curl -O https://raw.githubusercontent.com/minio/minio-service/master/linux-systemd/minio.servicesudo mv minio.service /etc/systemd/system
systemctl enable minio.service
Note: For Ubuntu 16.04 LTS, you need to change the user and group to ubuntu
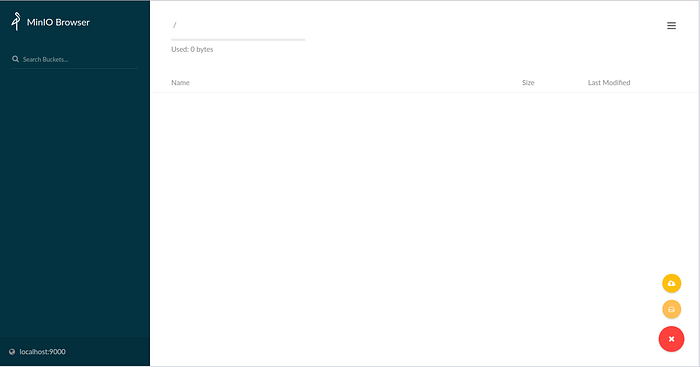
Go to http://localhost:9000 to check the installation. Login using the credential you set above (i.e. minio/miniokey) and you should see this.
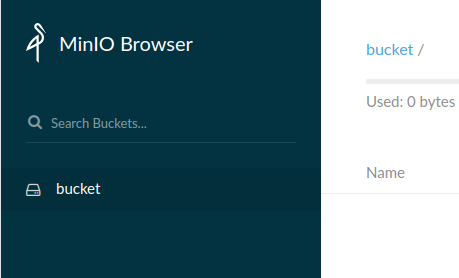
Create a bucket named bucket.
Start SageMaker
Copy SageMaker config file
mkdir -p ~/.sagemaker && cp config.yaml ~/.sagemakerCreate a docker network named sagemaker-local
docker network create sagemaker-localCheck the subnet of the docker network
docker network inspect sagemaker-local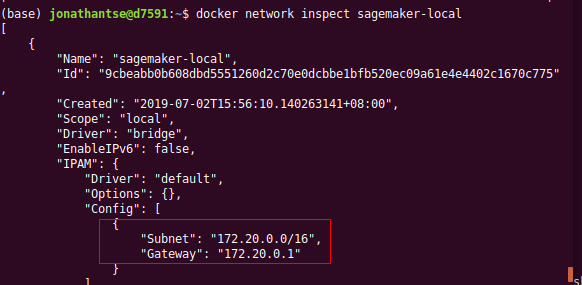
Edit rl_coach/env.sh, comment S3_ENDPOINT_URL and use the line below.
# export S3_ENDPOINT_URL=http://$(hostname -i):9000
export S3_ENDPOINT_URL=http://172.18.0.1:9000
Source the env.sh
cd rl_coach
source env.sh
Before you start SageMaker, copy your local reward function and model_metadata.json to S3 (minio). If you want, you can edit the reward function before copying to S3.
aws --endpoint-url $S3_ENDPOINT_URL s3 cp ../custom_files s3://bucket/custom_files --recursiveOptionally, use your own image created above to utilize the GPU. Comment out the line image_name in rl_deepracer_coach_robomaker.py.
base_job_name=job_name_prefix,
# image_name="crr0004/sagemaker-rl-tensorflow:console",
train_max_run=job_duration_in_seconds, # Maximum runtime in second
The RLEstimator will look for the default image, which is named 520713654638.dkr.ecr.us-east-1.amazonaws.com/sagemaker-rl-tensorflow:coach0.11-cpu-py3
Run SageMaker
python rl_deepracer_coach_robomaker.pyIf everything run smooth, you should see something like this:
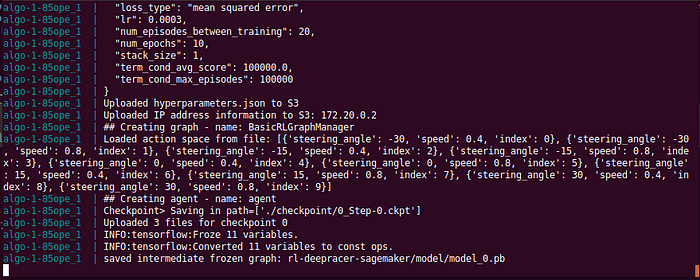
At this point, the SageMaker is waiting for the RoboMaker to start the training
Start RoboMaker
RoboMaker is the service that provide the simulation environment. Before we start, we need to config the track to be used. You can edit the robomaker.env to choose the track you want to use. The default track is set to Tokyo track for now. If you want to use the reinvent track, you can set the reinvent_base
# WORLD_NAME=Tokyo_Training_track
WORLD_NAME=reinvent_base
In addition, if your docker network is something different from 172.18.0.1, remember to change the parameter S3_ENDPOINT_URL as well.
S3_ENDPOINT_URL=http://172.18.0.1:9000If everything is good, run this command under the project directory
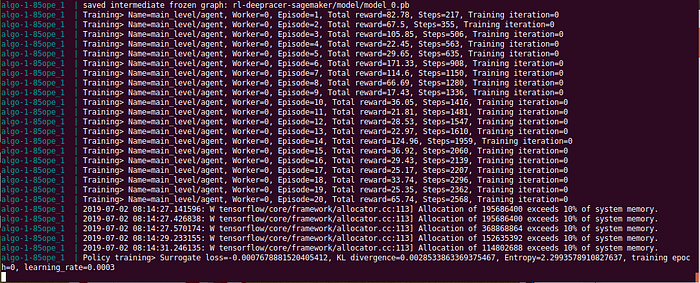
docker run --rm --name dr --env-file ./robomaker.env --network sagemaker-local -p 8080:5900 -it crr0004/deepracer_robomaker:consoleIf you see something like this, congratulation you made it!
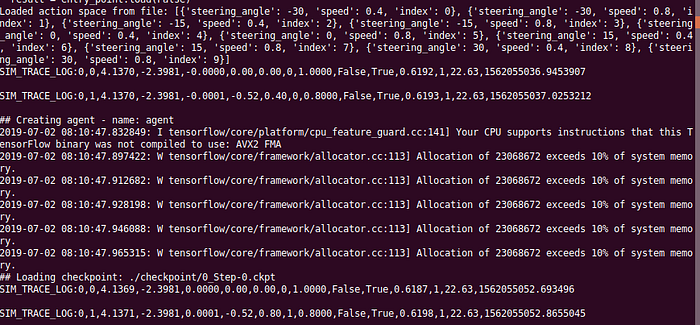
On the other hand, you should see the SageMaker outputting something like this:
You can also check the simulation process by using vnc client to connect to RoboMaker
gvncviewer localhost:2180
Submit the locally trained model to DeepRacer Console
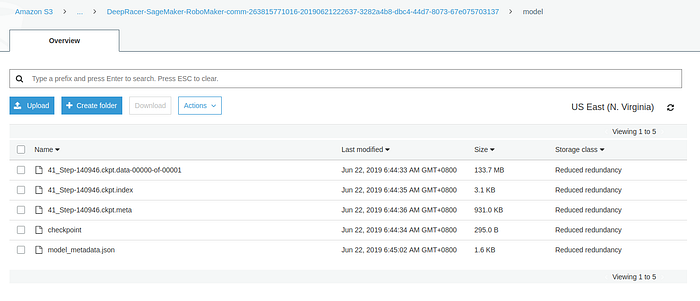
By following this tutorial, you first create a 5-minute dummy training job. Then the necessary folders on S3 will be created for you. You could upload your locally trained files to the S3 bucket.
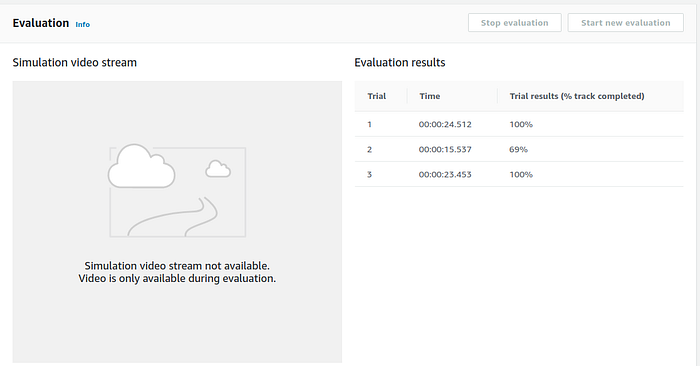
And go back to the DeepRacer console and start the evaluation. It works.
After the evaluation is finished, you could also download the model and supposingly put it on a DeepRacer to run. However, because I don’t have a DeepRacer vehicle yet (I ordered back in 2018 Nov and AWS has NOT delivered it to me for over 7 months!), I cannot confirm whether it works or not. Let me know if you have done this and I will supplement here so everyone know.
Other Issues
I am experiencing OOM error on both my local machine and an AWS g3s.xlarge instance. I observe that probably the memory is not enough when tensorflow want to get more memory. Chris said there is a memory leak.

I decided to try on a p3.2xlarge which get a tesla V100 with 16GB (i thought it is 32GB) hoping that it won’t get a OOM too soon and I can have the model trained before the OOM happen. Surprisingly, it looks like it wasn’t a memory leak because the v100 could run for a few hours without any issue.
So if you are experiencing OOM you have two choices:
- Train locally using CPU
- Train with a p3.2xlarge instance
Tips: You can save money by using spot instance. To create a spot instance easily, use it together with AMI which allow you to create spot instance relatively easier
Someone on stackoverflow said OOM issue could be avoided by setting a smaller batch size. I tried but it doesn’t work for me.
Way Forward
Fix the OOM issue
This is obviously the first priority. Let’s see if guys from AWS would get this fixed very soon.
Train based on an existing model
Someone has done this already. I didn’t try so I can’t comment. Hopefully I will supplement to this article when I try it. You may find more information on how to do this on the issues or wiki page.
A local web console
There are still a lot of manual work to train a model and upload it to DeepRacer console. If a local web console is available, it would make this much easier to use.
Credits
- Chris Rhodes for creating this project
- @legg-it — He showed me how to build the docker images in this github issue